Map glitter density before deciding how many nails should carry it
A glitter lacquer can look sparse, evenly scattered or visually dense depending on the product and application. Examine the actual distribution on a supported practice surface. Make density part of the design decision before choosing a full manicure or assuming that more layers are the only route to balance.
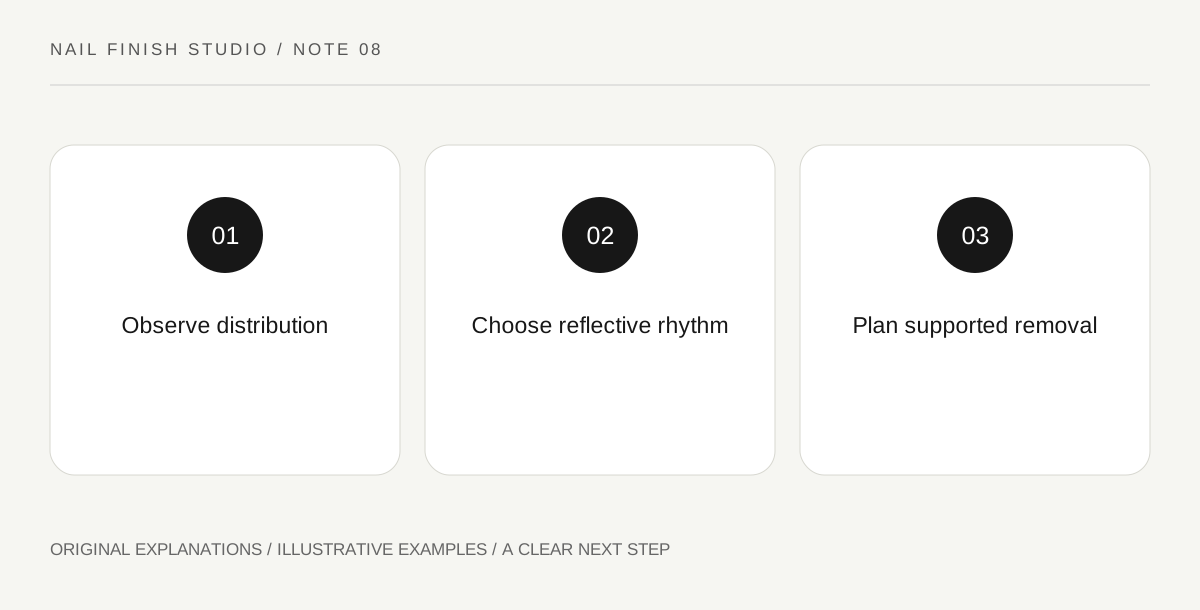
Original explanatory diagram. Read the full method and limitations below.
Inspect particle distribution at ordinary scale
Prepare a practice swatch according to the product instructions and let it reach the appropriate assessment stage. Look from normal hand distance before examining individual pieces closely. Describe empty space as well as reflective points. A finish with large gaps may be intended as a scattered effect rather than a complete covering. Avoid judging it by a bottle view in which particles overlap through a much deeper volume of liquid.
Distinguish base coverage from sparkle coverage
Notice whether the lacquer's colored base hides the background independently of the glitter. A translucent base with dense sparkle and an opaque base with sparse sparkle produce different visual results. Label the supported layer sequence. Do not add unlimited thickness to make every gap disappear. If you want full color coverage beneath a topper, use only a compatible layering arrangement supported by the products rather than mixing arbitrary formulas.
Choose the number of reflective surfaces
Arrange one glitter swatch beside several plain ones on paper. Then compare an all-glitter arrangement. The change concerns visual rhythm and how often reflection appears as the hand moves. Neither option is automatically more elegant or more festive. Decide how much activity you want and whether clothing or jewelry already provides sparkle. A small amount of the finish can be a deliberate design choice rather than a compromise.
Include removal in the decision
Read the product's removal instructions before choosing the design, and ensure the suitable supplies and time are available. Avoid picking or scraping a resistant coating off the nail. If removal is uncomfortable or a nail looks concerning, stop and seek appropriate guidance. A visually appealing finish still has to fit the whole use cycle. Record the removal requirements with the swatch so future decisions include more than the application photograph.
Illustrative worked example
Illustrative scenario: a learner likes a glitter lacquer in its bottle but finds the practice swatch intentionally scattered. They pair one reflective sample with four plain samples and prefer the quieter arrangement. The product's supported removal instructions also suit an unhurried evening rather than a rushed morning. The resulting plan considers distribution, visual activity and removal without claiming a specific number of wear days.
Questions that come up
Can I place every glitter particle individually?
Only use a method supported for the actual product and your skill level. A simpler scattered finish may achieve the goal without repeated manipulation.
Should stubborn glitter be scraped away?
Follow the approved removal route and avoid forceful picking or scraping. If the coating cannot be removed comfortably as directed, seek appropriate professional advice.
References and scope
These sources support the factual background. Examples and exercises are original illustrative teaching material. References do not imply endorsement.
- FDA: Nail Care Products — Follow labels and warnings, provide ventilation and handle potentially flammable nail products safely.
- AAD: Manicure and Pedicure Safety — General nail-care boundaries and seeking professional care for concerning nail changes.
- OPI: gLITter Nail Lacquer — A manufacturer describes a particular sheer shimmer topper and its supported lacquer layering system.